Instructor - Live Session (Webex) room features
Webex Room Kit is a powerful collaboration solution that integrates with flat panel displays to bring more intelligence and usability to your small to medium-sized meeting rooms—whether registered on the premises or to Webex on the cloud.
General Instructions
Before you start your online Live Session, make sure you have the necessary equipment and set-up:
 |
A quiet, comfortable and well-lit space. |
 |
A Laptop or Desktop Computer (Mac or PC). You can also view the session from your mobile/tablet. For the best experience, use a PC or Mac. |
 |
A computer that meets the minimum and recommended system requirements. |
 |
A stable Internet connection. |
 |
Speakers and microphone should be switched on. |
 |
The camera should be switched on and uncovered. |
1. Accessing your live sessions
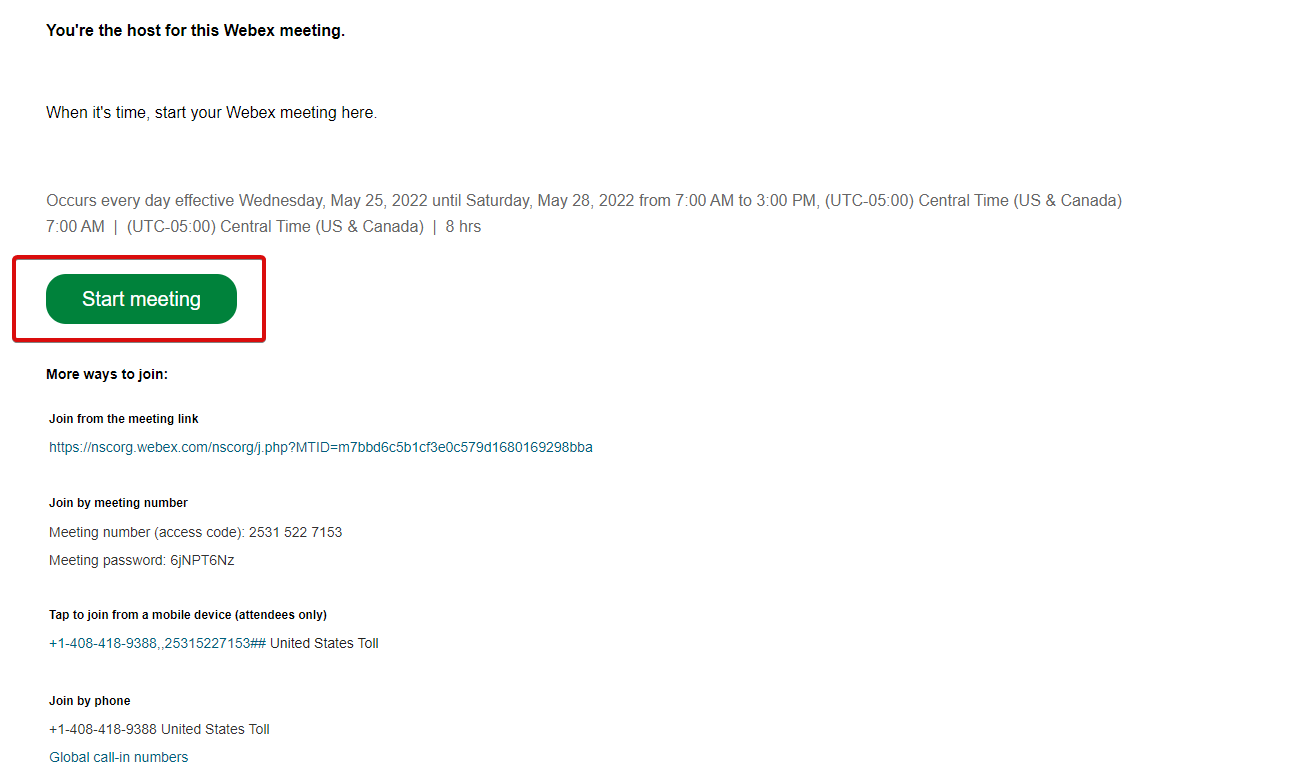
Accessing via the email link
Once a live session has been added to a course, an instructor who has access to it will get an email with a custom link. This will allow the instructor to launch the live session as shown below. Click Start meeting to launch the live session.
 |
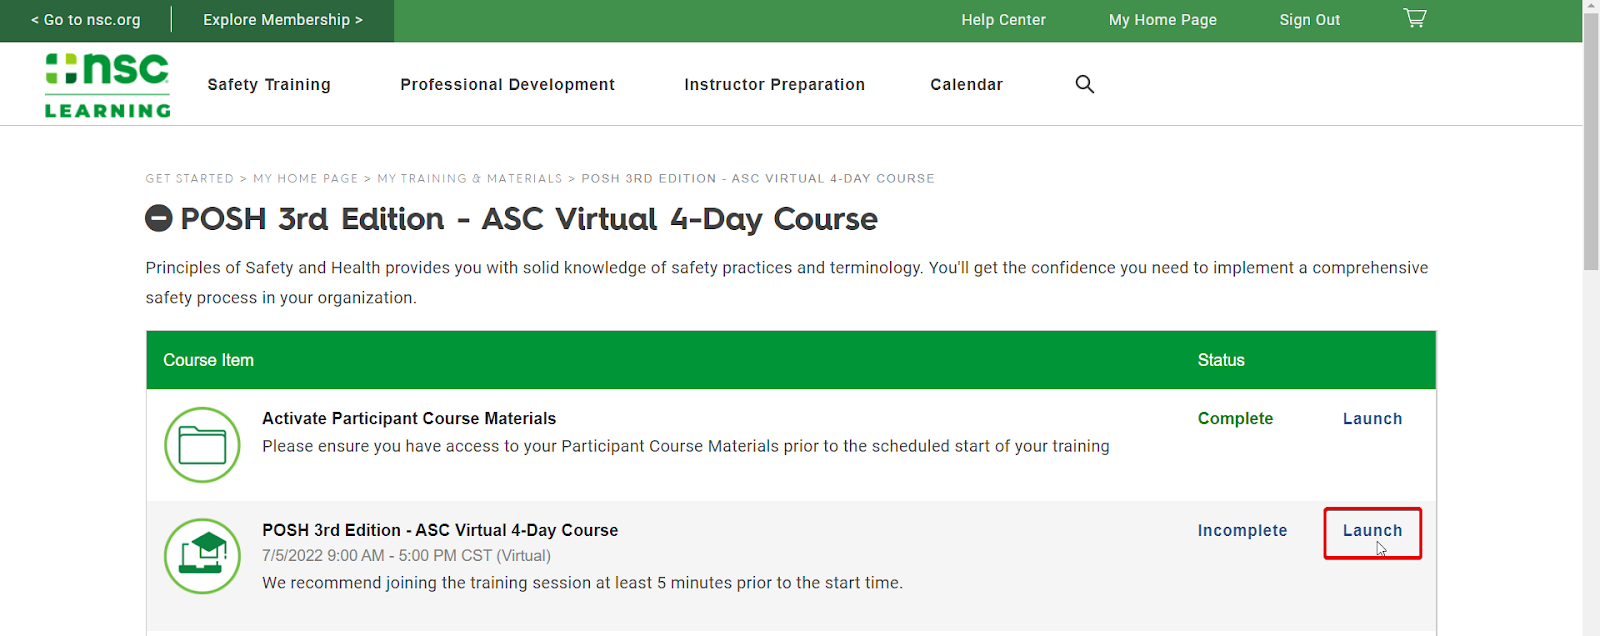
Accessing via NSC
Alternatively, you can log into the learn.nsc.org using your account, select the course and launch the live session.
 |
2. Chat and QA
Webex Live has a chat functionality which can be used by participants. You can use the chat to communicate with members in the session.
Learners can add comments during your presentation. A speaker can also start a private conversation between other speakers in the Conversations tab.
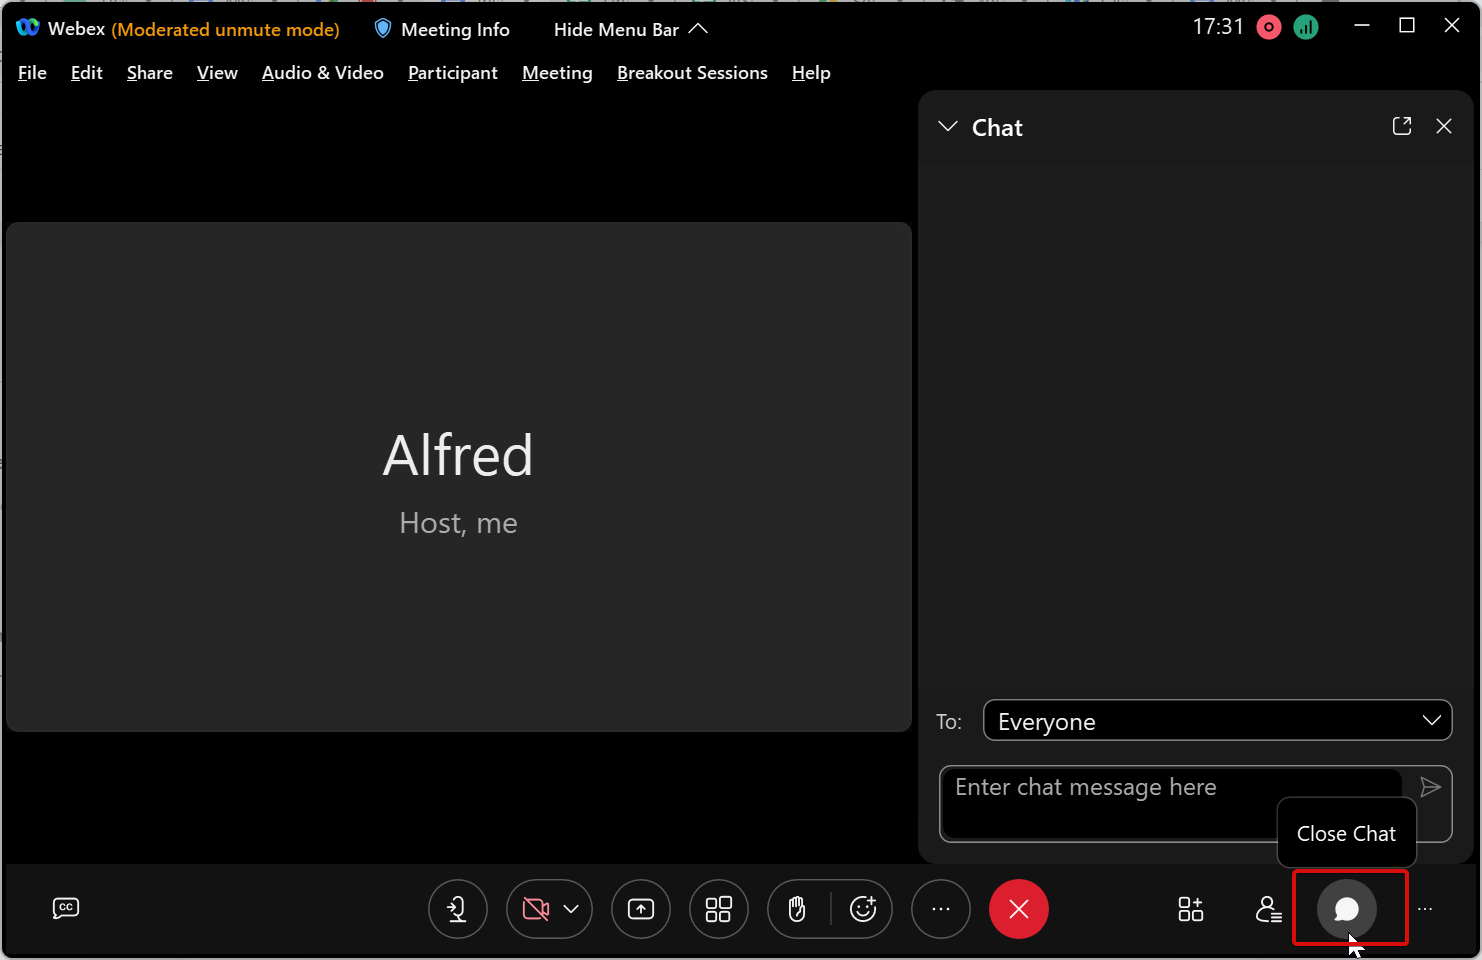 |
In the Q&A section, you can post questions to the Host.
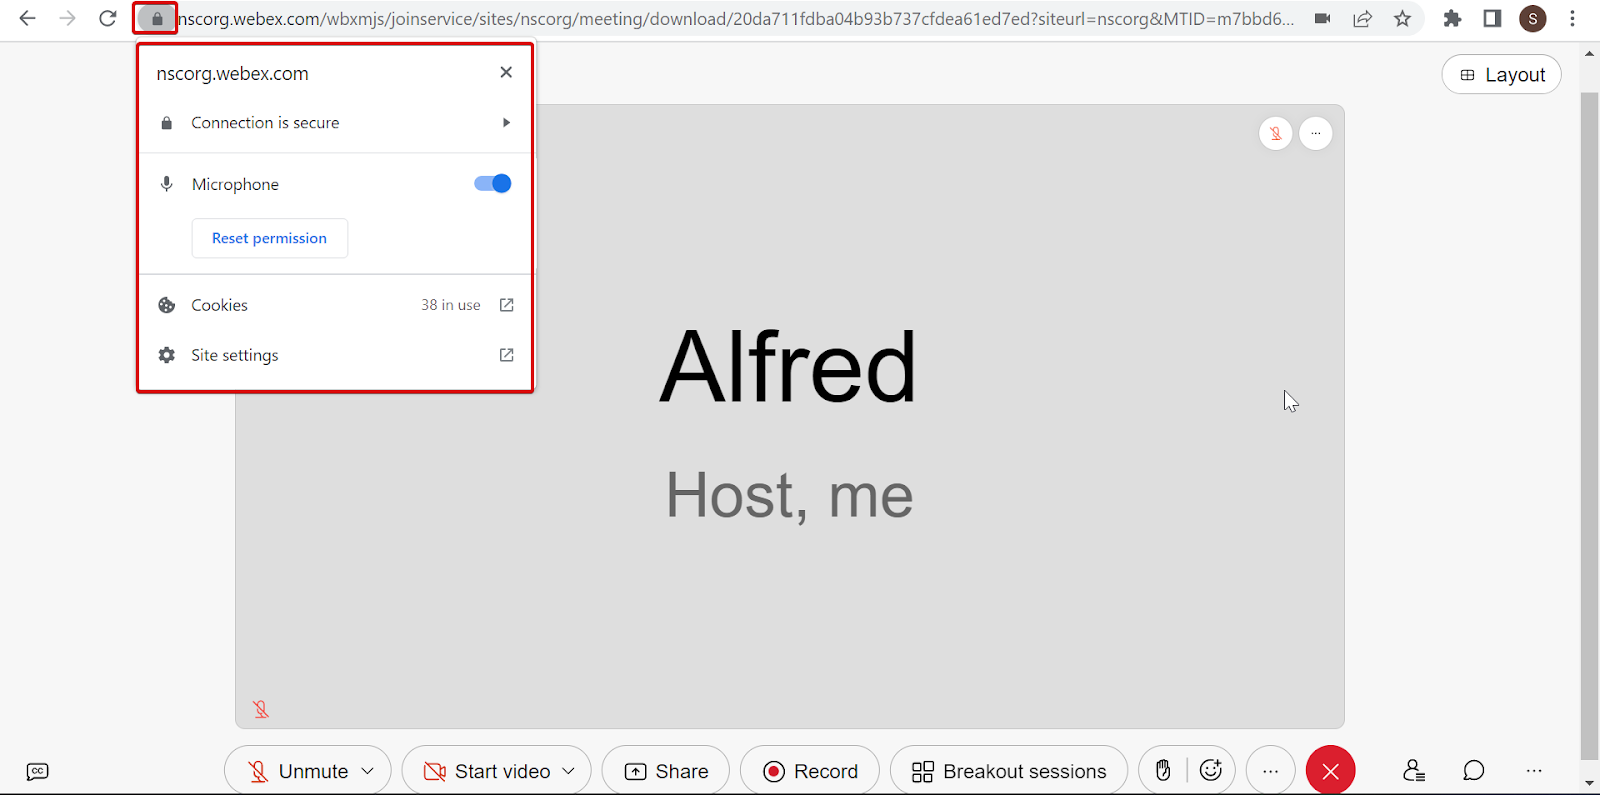
3. Giving Permissions to the Platform
Ensure that the Chrome Permission settings that show up on the top-left are set to allow as shown below.
 |
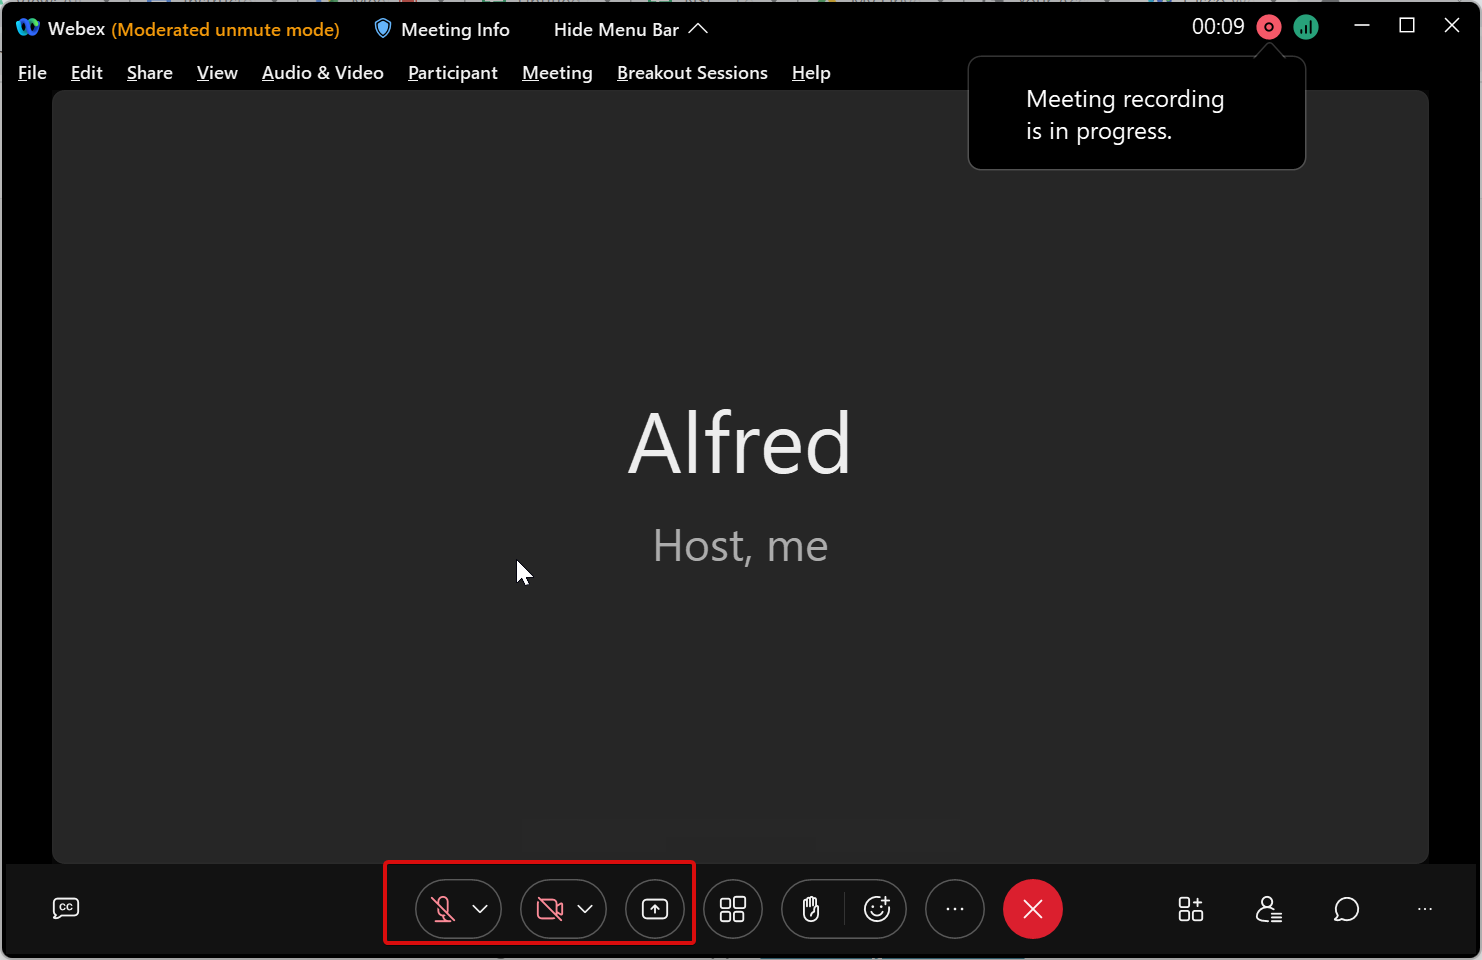
4. Turning on your microphone and camera
Once you have clicked Allow you can see your devices as shown below. Choose the correct input for your camera and microphone and use the microphone testing option to see if your microphone is working correctly.
Once you are satisfied, click Turn on Microphone and Camera if you want to enable both or just Turn on Microphone to turn on only the microphone.
 |
5. System Requirements
| Bandwidth |
|
| Minimum bandwidth for resolution/frame rate |
|
|
Firewall traversal |
|
| Video standards |
|
| Video inputs |
|
| Video outputs |
|
| Audio standards |
|
| Audio features |
|
| Audio inputs |
|
|
Certificate management |
|
|
Network interfaces |
|
| Other interfaces |
|
| Power
|
|
| Operating temperature and humidity |
|
| Storage and transport temperature |
|
| Locking mechanism |
|
| Dimensions |
|
| Camera overview |
|
6. Bandwidth requirements
Audio - Minimum 50 kbps upload/download (100 kbps recommended)
Video - Minimum 100 kbps upload/download (200 kbps recommended)
Video (HQ and Resolution) - Minimum 500 kbps upload/download (1 mbps recommended)
Screen Sharing - Minimum 800 kbps upload/download (1.5 mbps recommended)